30.11.2020: Updated with the new patchseries and instructions for Windows
02.12.2020: Added tweaks
08.12.2020: Updated with patchseries v4
31.01.2020: Updated with patchseries v6
07.03.2021: Updated instructions to apply patch cleanly
01.06.2021: Updated instructions for Xcode 12.4 and above
- Clone QEMU and checkout version 5.2.0
git clone https://github.com/qemu/qemu
cd qemu
git checkout v5.2.0- Apply the patchseries by Alexander Graf https://lore.kernel.org/qemu-devel/[email protected]/
curl https://patchwork.kernel.org/series/418581/mbox/ | git am --exclude=MAINTAINERS- If you use Xcode 12.4 or above, you will need another patch to fix the QEMU build. Download xcode-12-4.patch from below and apply it using
git apply xcode-12-4.patch- Install the ARM version of the brew package manager. The (recommended) installation via Rosetta will cause problems when building QEMU. Even if brew screams at you at every launch that this is not a supported configuration I had no major problems so far. You can follow this guide (see the "Multiple Homebrews" section).
- Install required packages for building:
brew install libffi gettext pkg-config autoconf automake pixman- Run the following commands to build qemu:
mkdir build
cd build
../configure --target-list=aarch64-softmmu --disable-gnutls
make -j8
sudo make install- For some reason, the qemu binary is modified during
make install. You need to resign it with the correct entitlements, otherwise you will get anUnknown Error:
sudo codesign --entitlements /path/to/qemu/accel/hvf/entitlements.plist --force -s - `which qemu-system-aarch64`- Download Ubuntu Server for ARM https://ubuntu.com/download/server/arm
- Create a hard disk:
qemu-img create -f qcow2 disk.qcow2 10G- Create an empty file for persisting UEFI variables:
dd if=/dev/zero conv=sync bs=1m count=64 of=ovmf_vars.fd- Run qemu with the following command-line arguments:
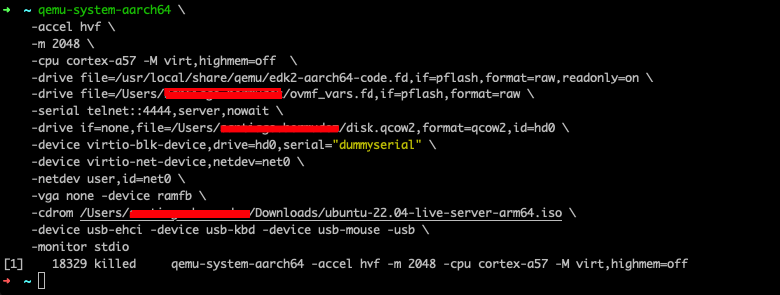
qemu-system-aarch64 \
    -accel hvf \
    -m 2048 \
    -cpu cortex-a57 -M virt,highmem=off  \
    -drive file=/usr/local/share/qemu/edk2-aarch64-code.fd,if=pflash,format=raw,readonly=on \
    -drive file=ovmf_vars.fd,if=pflash,format=raw \
    -serial telnet::4444,server,nowait \
    -drive if=none,file=disk.qcow2,format=qcow2,id=hd0 \
    -device virtio-blk-device,drive=hd0,serial="dummyserial" \
    -device virtio-net-device,netdev=net0 \
    -netdev user,id=net0 \
    -vga none -device ramfb \
    -cdrom /path/to/ubuntu.iso \
    -device usb-ehci -device usb-kbd -device usb-mouse -usb \
-monitor stdio- You should be able to install Ubuntu as normal
- If you want a desktop environment, you can install it using
sudo apt-get install ubuntu-desktop
- Download Windows for ARM from here
- Create an empty file for persisting UEFI variables:
dd if=/dev/zero conv=sync bs=1m count=64 of=ovmf_vars.fd- For Windows, we need to replace the VirtIO block device with something that is supported natively by the OS. Otherwise, the command-line is almost unchanged
- You may want to pass multiple cores to the VM using
-smp X:
qemu-system-aarch64 \
    -accel hvf \
    -m 2048 -smp 2 \
    -cpu cortex-a72 -M virt,highmem=off  \
    -drive file=/usr/local/share/qemu/edk2-aarch64-code.fd,if=pflash,format=raw,readonly=on \
    -drive file=ovmf_vars.fd,if=pflash,format=raw \
    -serial telnet::4444,server,nowait \
    -drive if=none,file=Windows10_InsiderPreview_Client_ARM64_en-us_20231.VHDX,format=vhdx,id=hd0,cache=writethrough \
    -device nvme,drive=hd0,serial="dummyserial" \
    -nic user,model=virtio \
    -vga none -device ramfb \
    -device usb-ehci -device usb-kbd -device usb-mouse -usb \
-monitor stdioWindows does not support VirtIO network interfaces out of the box. To get it working, you need to install additional drivers. See this gist for a guide (be sure to use version 0.1.190 instead of 0.1.185)
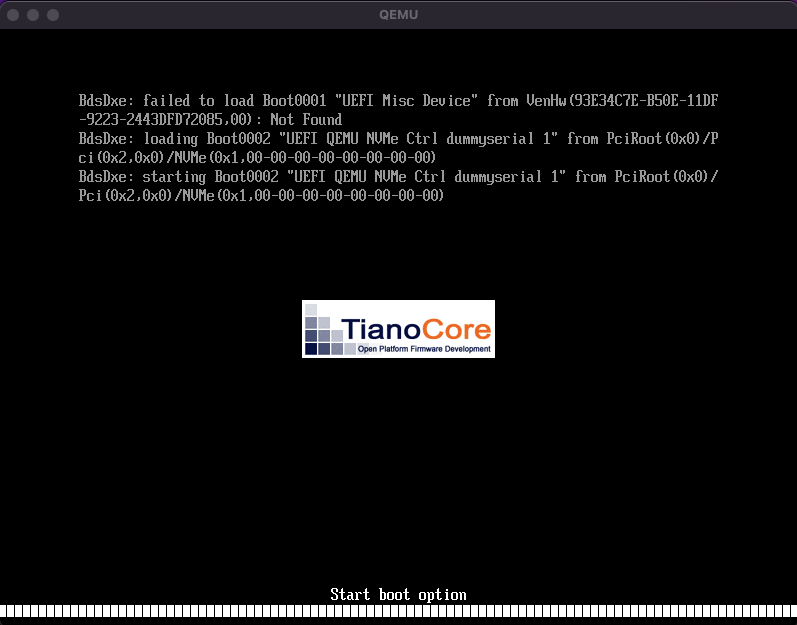
The resolution is set to 800x600 by default. To change it, hit Esc at the immediately after starting the VM, while you see the tianocore logo, to get into the OVMF config menu. Choose Device Manager -> OVMF Platform Configuration -> Change Preferred -> Select 1024x768 -> Commit Changes and Exit -> Esc -> Reset.
Proper NAT networking is currently not possible with QEMU due to the lack of tap devices in macOS Big Sur. If you just want to be able to connect to a port on the VM (e.g. for SSH or RDP), you can configure QEMU to forward a local port to the VM:
-nic user,model=virtio,hostfwd=tcp:127.0.0.1:3389-0.0.0.0:3389 \In this case the port for RDP is forwarded so that I can connect to the VM at localhost:3389. The same for Ubuntu/SSH:
-netdev user,id=net0,hostfwd=tcp:127.0.0.1:2222-0.0.0.0:22 \Some users experience a random filesystem corruptions when booting Windows which can be avoided with the cache=writethrough for the hard drive. You can also perform disk snapshots to save the state of the hard disk at a certain point in time and restore it later. To do this, shut the VM down and create a new disk with your original image as the backing file:
qemu-img create -b Windows10_InsiderPreview_Client_ARM64_en-us_20231.VHDX -F vhdx -f qcow2 disk.qcow2Now, adjust the -drive parameter so that QEMU boots from your new image:
-drive if=none,file=disk.qcow2,format=qcow2,id=hd0,cache=writethrough \If something goes wrong you can now delete disk.qcow2 and recreate it using the same commmand to back to the original state.


Facing the same issue, any updates