Upload image from your Computer to Google Drive using HTML-form. Show image via URL (IMAGE function) in your Spreadsheet
The sctipt was originally designed by Kanshi TANAIKE.
Please see the original script and instructions first.
// this function executes from html-form
function doPost(e) {
  var data = Utilities.base64Decode(e.parameters.data);
  var blob = Utilities.newBlob(data, e.parameters.mimetype, e.parameters.filename);
  // save image to selected folder
  var folder = DriveApp.getFolderById('1tPY3eyK3qh5nDrgb_-G1Kl-ltYJp-j5k');                      // your folder id
  var file = folder.createFile(blob);

  // put the image with the help of a formula in a cell in Google Sheets
  // https://webapps.stackexchange.com/questions/86081/insert-image-from-google-drive-into-google-sheets
  var ss = SpreadsheetApp.openById('1BKkd5LwBYyGoi2um-S3pTCBKrUEko34m9vJu94K8uOQ');              // your spreadsheet id
  var r = ss.getSheetByName('Image_test').getRange('B2');                                        // your sheet name and cell-address
  var id = file.getId();
  r.setFormula('=IMAGE("https://docs.google.com/uc?export=view&id=' + id + '")');


  // here I want browser window to close
  PropertiesService.getScriptProperties().setProperty('my_unique_key', 'Done')
  var output = HtmlService.createHtmlOutput("<b>Done!</b>");
  output.setXFrameOptionsMode(HtmlService.XFrameOptionsMode.ALLOWALL);
  return output;
}
function doGet(e) {
}

// this function openes dialog window
function openImageForm()
{
  var html = HtmlService.createHtmlOutputFromFile('UploadForm');
  SpreadsheetApp.getUi() // Or DocumentApp or SlidesApp or FormApp.
      .showModalDialog(html, 'Select image');

}

// this function executes from HTML-form and returnes signal to close the window
// after successful loading of the file to Drive
function clientSideFunctionToProcessReturnedData()
{
  var key = 'my_unique_key';
  var props = PropertiesService.getScriptProperties()

  while (true)
  {
    var result = props.getProperty(key);
    if (result === 'Done')
    {
      props.deleteProperty(key);
      return true;
    }
    // check each second
    Utilities.sleep(1000);
  }
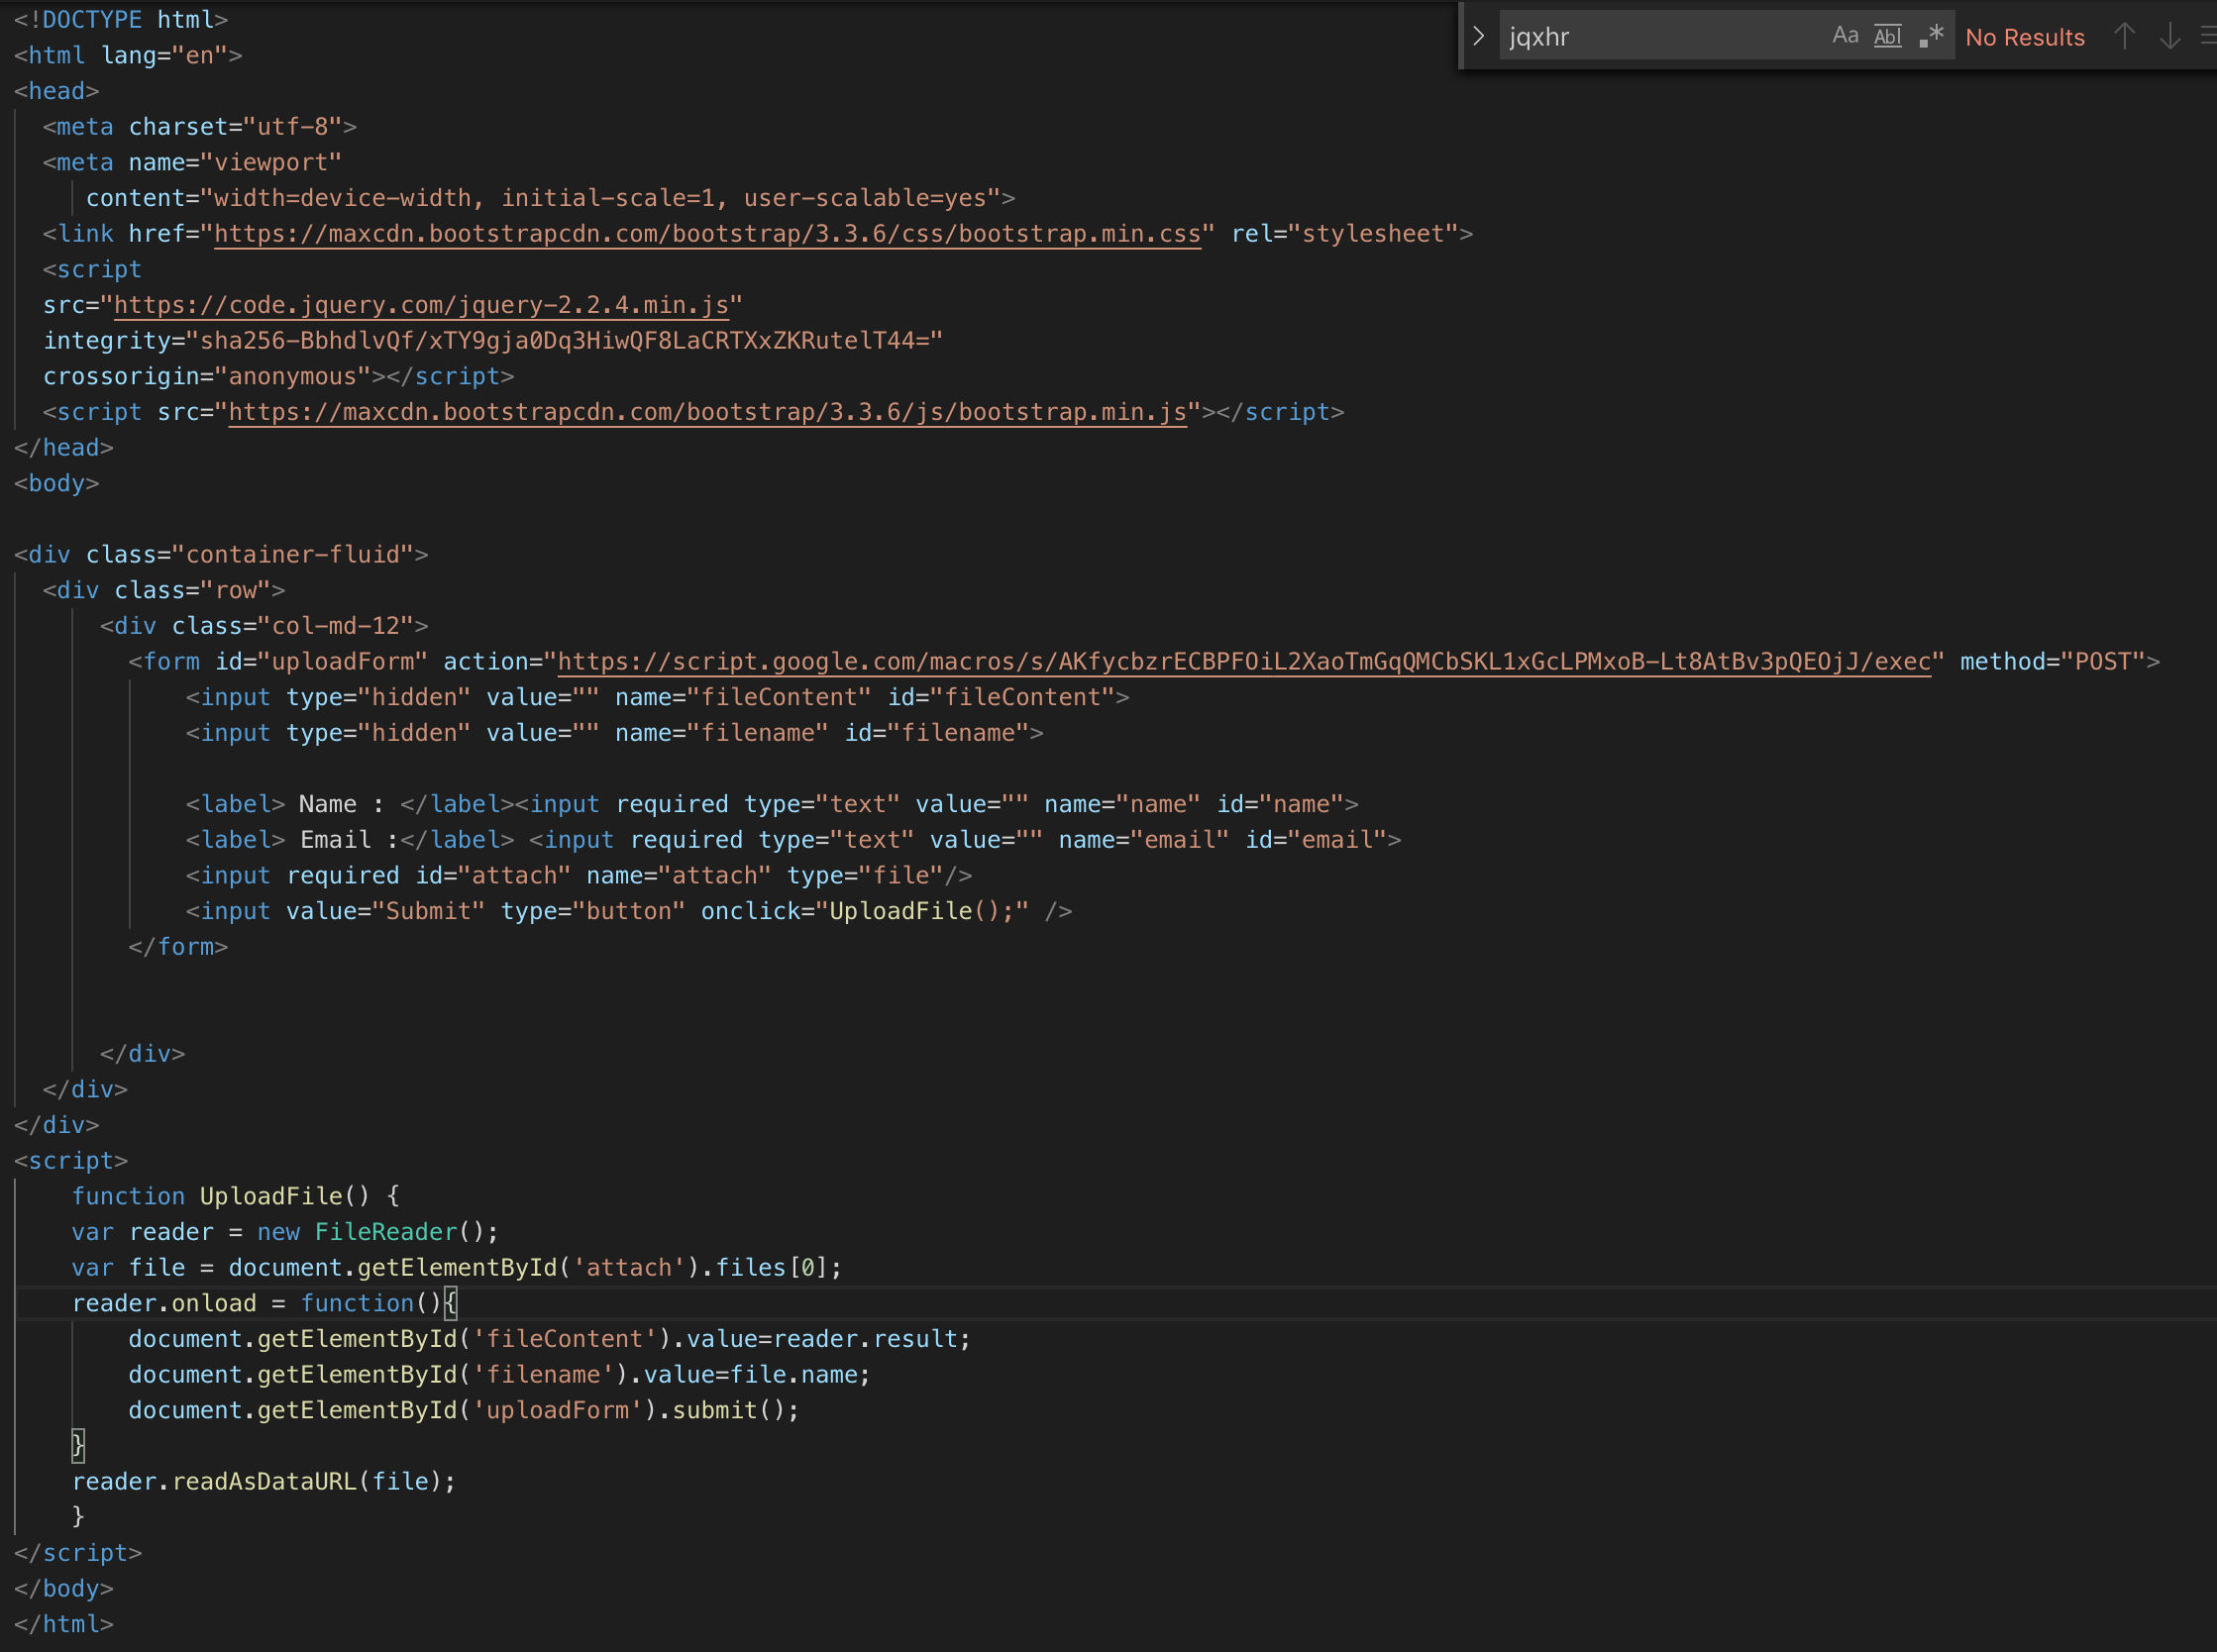
}<!DOCTYPE html>
<html>
<head>
<title>Sample script for uploading image and pasting it to a cell</title>
<script src="https://ajax.googleapis.com/ajax/libs/jquery/1.12.4/jquery.js"></script>
<link rel="stylesheet" href="https://stackpath.bootstrapcdn.com/bootstrap/4.3.1/css/bootstrap.min.css" integrity="sha384-ggOyR0iXCbMQv3Xipma34MD+dH/1fQ784/j6cY/iJTQUOhcWr7x9JvoRxT2MZw1T" crossorigin="anonymous">
<style>
<!--Solution with progress-bar from here: https://www.html5rocks.com/en/tutorials/file/dndfiles-->
#progress_bar {
margin: 10px 0;
padding: 3px;
border: 1px solid #000;
font-size: 14px;
clear: both;
opacity: 0;
-moz-transition: opacity 1s linear;
-o-transition: opacity 1s linear;
-webkit-transition: opacity 1s linear;
}
#progress_bar.loading {
opacity: 1.0;
}
#progress_bar .percent {
background-color: #99ccff;
height: auto;
width: 0;
}
</style>
</head>
<body>
<!---------------- P U T Y O U R W E B - A P P U R L H E R E --------------->
<form action="https://script.google.com/macros/s/AKfycbw8B2TbYnFBZbkvzopSHXPJvEJ7fnREIQabicOz/exec" id="form" method="post">
Upload a file
<div id="data"></div>
<input name="file" id="uploadfile" type="file" accept="image/*">
<input id="btnSubmit" type="submit">
</form>
<div id="progress_bar"><div class="percent">0%</div></div>
<script>
var reader;
var progress = document.querySelector('.percent');
// on error
function errorHandler(evt) {
switch(evt.target.error.code) {
case evt.target.error.NOT_FOUND_ERR:
alert('File Not Found!');
break;
case evt.target.error.NOT_READABLE_ERR:
alert('File is not readable');
break;
case evt.target.error.ABORT_ERR:
break; // noop
default:
alert('An error occurred reading this file.');
};
}
// close html-window: https://developers.google.com/apps-script/guides/html/communication
function closeMe() { google.script.host.close(); }
// onprogress
function updateProgress(evt) {
// evt is an ProgressEvent.
if (evt.lengthComputable) {
var percentLoaded = Math.round((evt.loaded / evt.total) * 100);
// Increase the progress bar length.
if (percentLoaded < 100) {
progress.style.width = percentLoaded + '%';
progress.textContent = percentLoaded + '%';
}
}
}
// to forse click-event. The form with file-select will open automatically
function clickForse_() {
var element = document.getElementById("uploadfile");
element.click();
}
// on file selected by user
function handleFileSelect(evt) {
// Reset progress indicator on new file selection.
progress.style.width = '0%';
progress.textContent = '0%';
reader = new FileReader();
// remember selected file (first selected)
var file = this.files[0];
reader.fileName = file.name; // save name
reader.onerror = errorHandler;
reader.onprogress = updateProgress;
reader.onabort = function(e) {
alert('File read cancelled');
};
reader.onloadstart = function(e) {
document.getElementById('progress_bar').className = 'loading';
};
reader.onload = function(e) {
// create data object
// form will send data via #data element
// https://gist.github.com/tanaikech/2f16f467c94612dc83920a3158614d95
html = '<input type="hidden" name="data" value="' + e.target.result.replace(/^.*,/, '') + '" >';
html += '<input type="hidden" name="mimetype" value="' + e.target.result.match(/^.*(?=;)/)[0] + '" >';
html += '<input type="hidden" name="filename" value="' + e.target.fileName + '" >';
$("#data").empty().append(html);
// Ensure that the progress bar displays 100% at the end.
progress.style.width = '100%';
progress.textContent = '100%';
// The form will close automatically when load to Google Drive is finished
google.script.run.withSuccessHandler(closeMe).clientSideFunctionToProcessReturnedData();
}
// Read in the image file as a Data URL
reader.readAsDataURL(file);
}
// when user clicks button #uploadfile, add event handleFileSelect
document.getElementById('uploadfile').addEventListener('change', handleFileSelect, false);
// when document is loaded, add event
document.addEventListener('DOMContentLoaded', clickForse_, false); // gives error
</script>
</body>
</html>The above script is developed to create some improvements in user interaction with the form:
-
The window with image select will open automatically
-
A user will see the progress bar of image loading
-
The HTML-window will close automatically when loading to drive is finished
There are also restrictions I've made:
-
the script form has a restriction to show only
imagefile types:accept="image/*" -
the script shows the image immediately in a cell. Please see more about inserting images from Drive to Sheets here. Note: you'll need to wait for big pictures to upload.
